Finishing up the Bathroom Spring Cleaning
Welcome back, reader! In this third and final installment of our series on spring cleaning in the bathroom, we’ll be going over a few more major zones as well as finishing touches. If you need to do any catch-up on our spring cleaning series, here is a useful list of links:
- Your 2018 Healthy Lifestyle Starts with Spring Cleaning Traditions
- Helpful Household Tips for Spring Cleaning in the Kitchen
- Helpful Household Tips for Spring Cleaning in the Bathroom Part 1
- Helpful Household Tips for Spring Cleaning in the Bathroom Part 2
Otherwise, we’re ready to continue by tackling the tub and shower, including a deep clean for the tile grout.
Cleaning the Shower and Tub
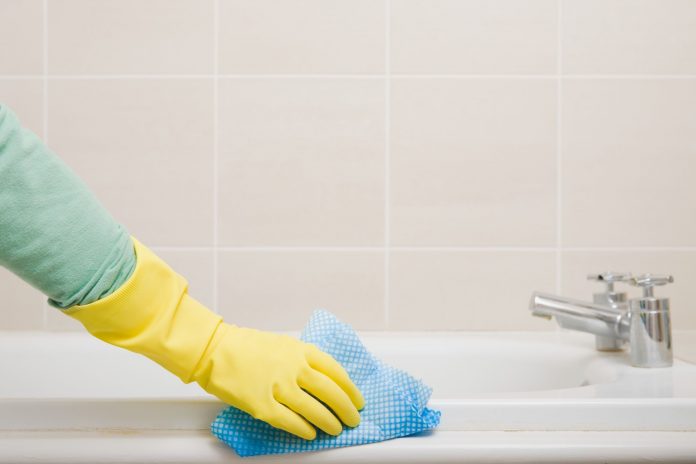
The shower and tub area of your bathroom(s) is prone to collecting all kinds of undesirables. Hair products, body soil, any bath oils you may use, and soap scum all work in concert to conceal any shiny portion of the tub. Meanwhile, corners and ledges act as accumulating regions for mildew. Any misstep in regular maintenance through the year have left quite a job for us in spring cleaning. Our goal here should be to restore all of the clean surfaces and remember what areas we need to tackle more frequently in weekly cleans from this point on.
Our 3-step approach is a tried and true method for an excellent shower clean:
- Attack and Hold Firm: Whether you have multiple bathrooms or just the one, this is a generally great idea. Use your all-purpose cleaner liberally throughout the shower and tub before cleaning any of the rest of your bathroom. Then return to the shower and tub later on. This will permit the cleaner to attach to more residue and give you a vastly superior clean when you are ready to scrub.
- Return to the Scene: Now that the rest of the bathroom, or majority of it has been dealt with, it’s a good idea to return to the tub where our all-purpose cleaner has been sitting. Rolling up your sleeves and attacking the tile and grout now will yield a lot more fruit with less effort: nice. In order to get tougher corners, make use of a toothbrush. The scummy deposits that have been percolating with the all-purpose cleaner should come up fairly easily.
- Rinse Down: Rinse the tub and shower walls down, either with a removable shower head, or using a plastic bin to reflect the shower head’s flow around. Get the entire area rinsed, then follow up with a dry rag or paper towels. Wiping down can pick up any remaining grime that was too stubborn for the rinse and would have become a decoration again later.
Cleaning Bathroom Faucets
Have your faucets or shower heads begun exhibiting a blockage or buildup? Hard water (water flow that contains a significant mixture of mineral content) can lead to restricted water flow. Some signs that you may have a hard water problem intruding on your healthy lifestyle can include:
- Jets from your shower head flying off in a strange direction
- Slower water flow from faucet or shower
- Discolored water
- Skin affected by minerals in hard water itching or flaking

While we can’t solve hard water issues from mineral buildup in your pipes, we can give one of our handy helpful household tips to improve how water emerges from the shower head or faucet directly.
You’ll want to mix 1:1 some vinegar with water and place the mixture into a plastic bag. Then wrap the plastic bag right up around the head of your shower or faucet and rubber band it on securely so that it is essentially swimming in the mixture. Leave this on overnight and the vinegar solution should erode a great deal of the blockage.
Clean Light Fixtures & Windows
We’re nearly done. At this point, we want to get any loose dust off of our light fixtures (and replace any bulbs if some are dimming). Collected grime should be attacked with microfiber and some vinegar spray. Clean your windows with a softer window cloth or newspaper. Newspaper may seem an odd choice, but it is excellent for picking up stubborn grime. Finally, sweep/vacuum the floor and then either mop or use a Swiffer sweeper. You can get corners of the floor with that handy tooth brush. With the floor complete, we’re ready to move everything back into their respective cabinets. We did it! Mimosa time.


